
Work with Phonet IP Telephony in your Uspacy CRM. Organize work processes and solve business challenges. Use the capabilities of Phonet telephony to improve the quality of consultations and client service, as well as to increase sales.
Features of work
At Uspacy, telephony works through integrations with specialized services. In the Marketplace section there are free applications that, after installation and configuration, will allow you to call or receive calls from clients.
💡Payment for telephony services is made on the service side.
You can get to know more about Phonet plans and prices here.
For the successful work of Phonet telephony, it is necessary to perform initial settings both at Uspacy and Phonet. After that, you need to install a softphone for making calls.
About everything below ⬇️
Phonet settings
Step 1. Connecting telephony
Step 1. Connecting telephony
The first thing you need to do is to contact support to connect Phonet IP telephony and create a personal account. To do this, order a call or write in the online chat on their official website.

A Phonet specialist will contact you. You will be able to agree on all issues regarding the operation of the service, plans and payment for telephony services. After that, the application for connection is filled out and as a result, access to the prepared account is granted.
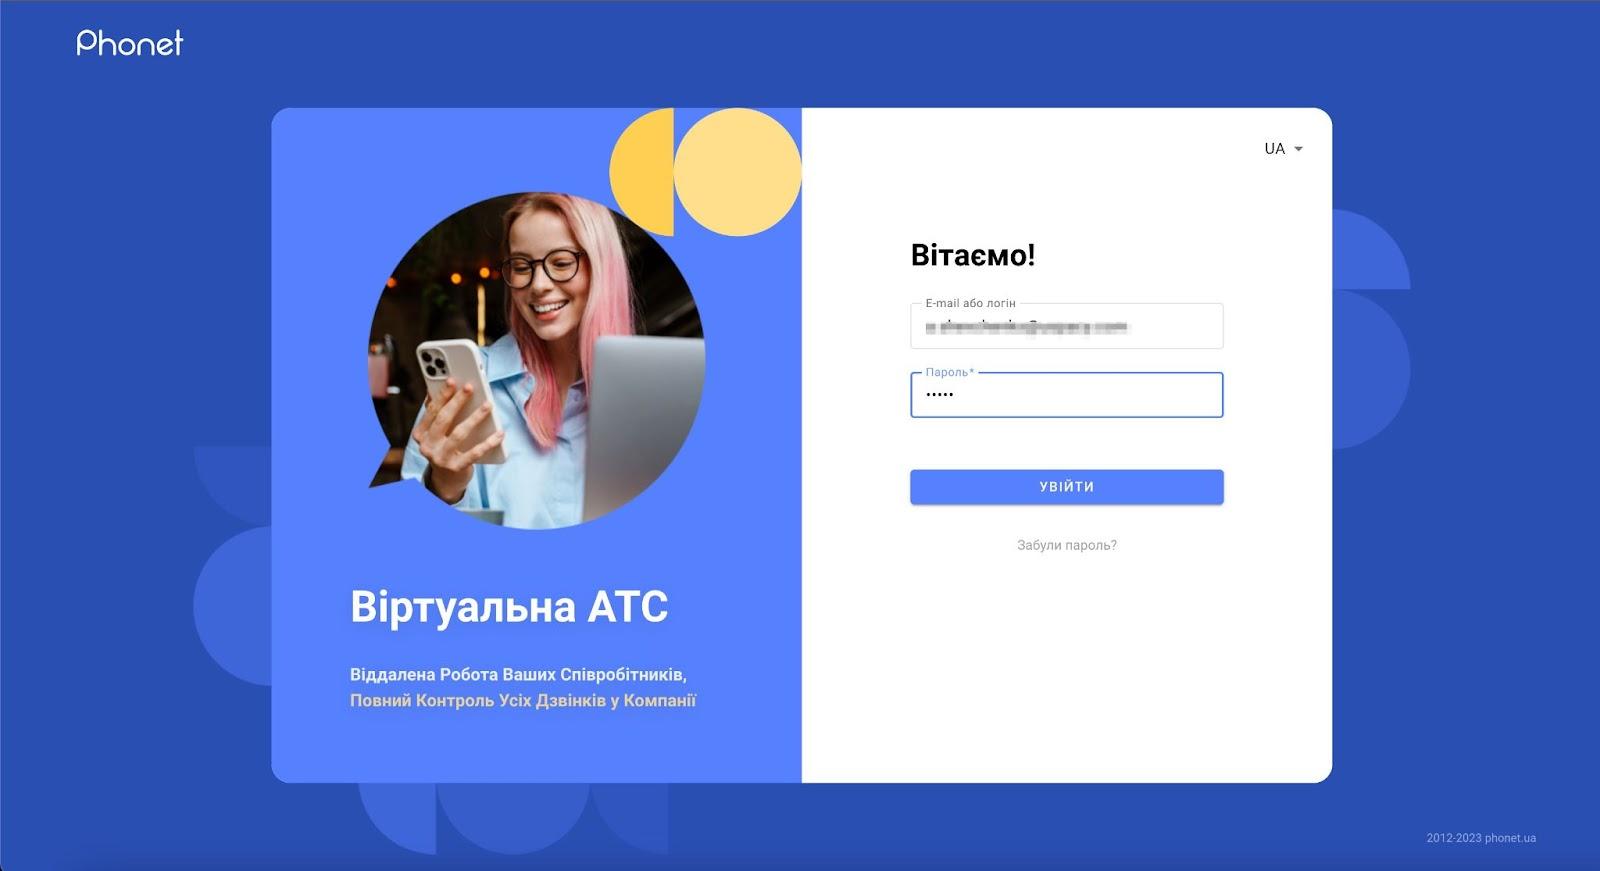
If you already have a Phonet account, just log in directly to your personal account using your login and password.
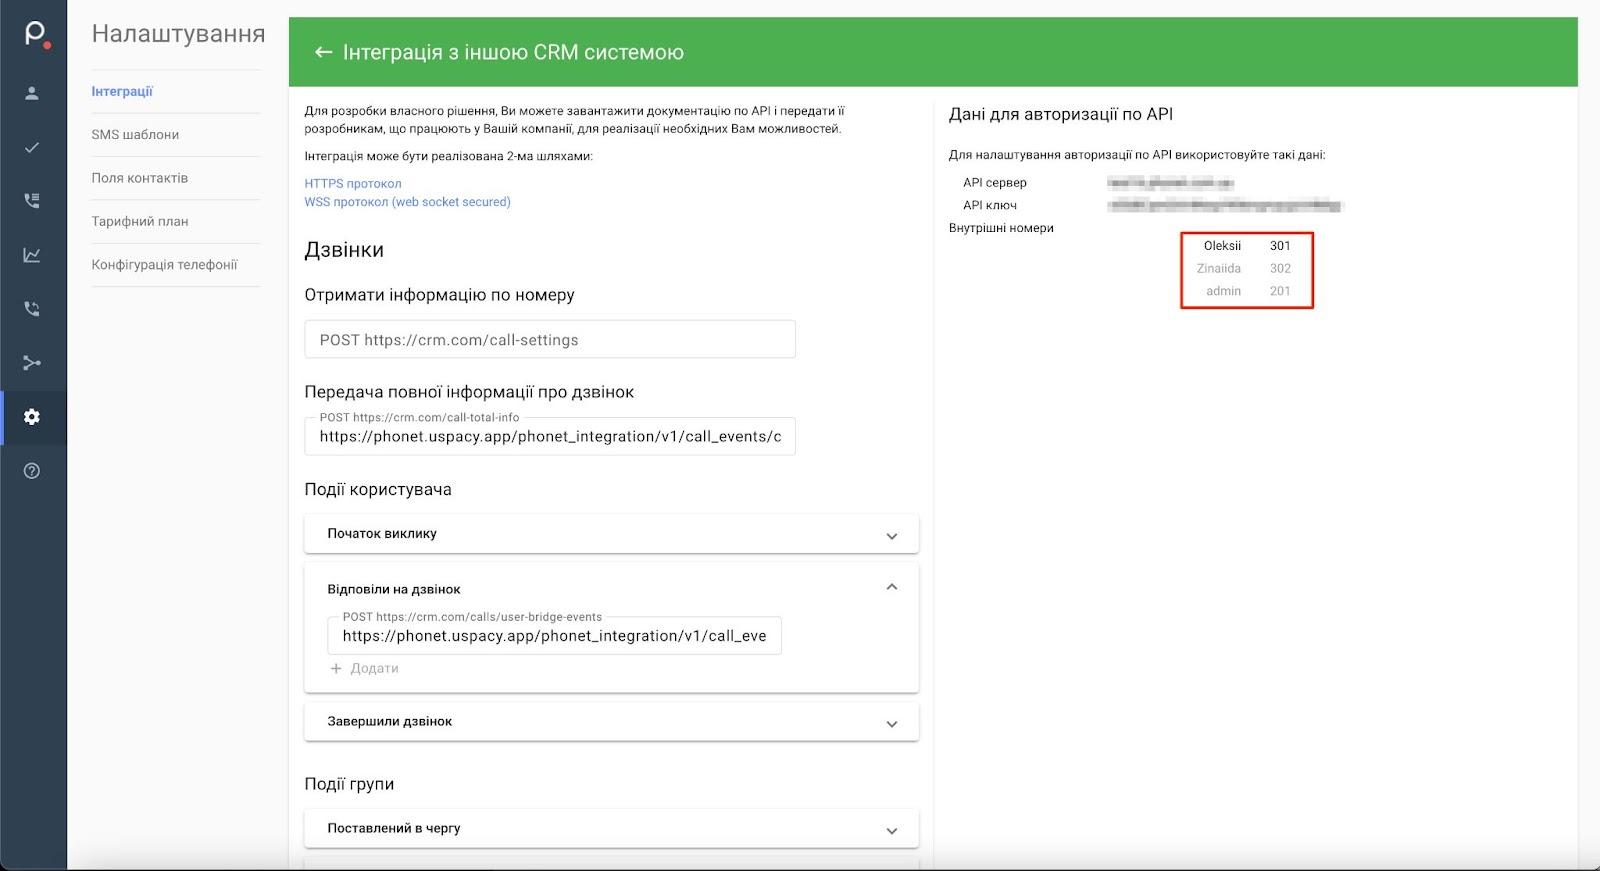
Step 2. Integration data
Step 2. Integration data
To successfully integrate Phonet telephony with your Uspacy Space, you need to use two parameters: API Domain (API server) and API Key. To find them, you need to go to your Phonet personal account, open the Settings section and the Integrations tab.
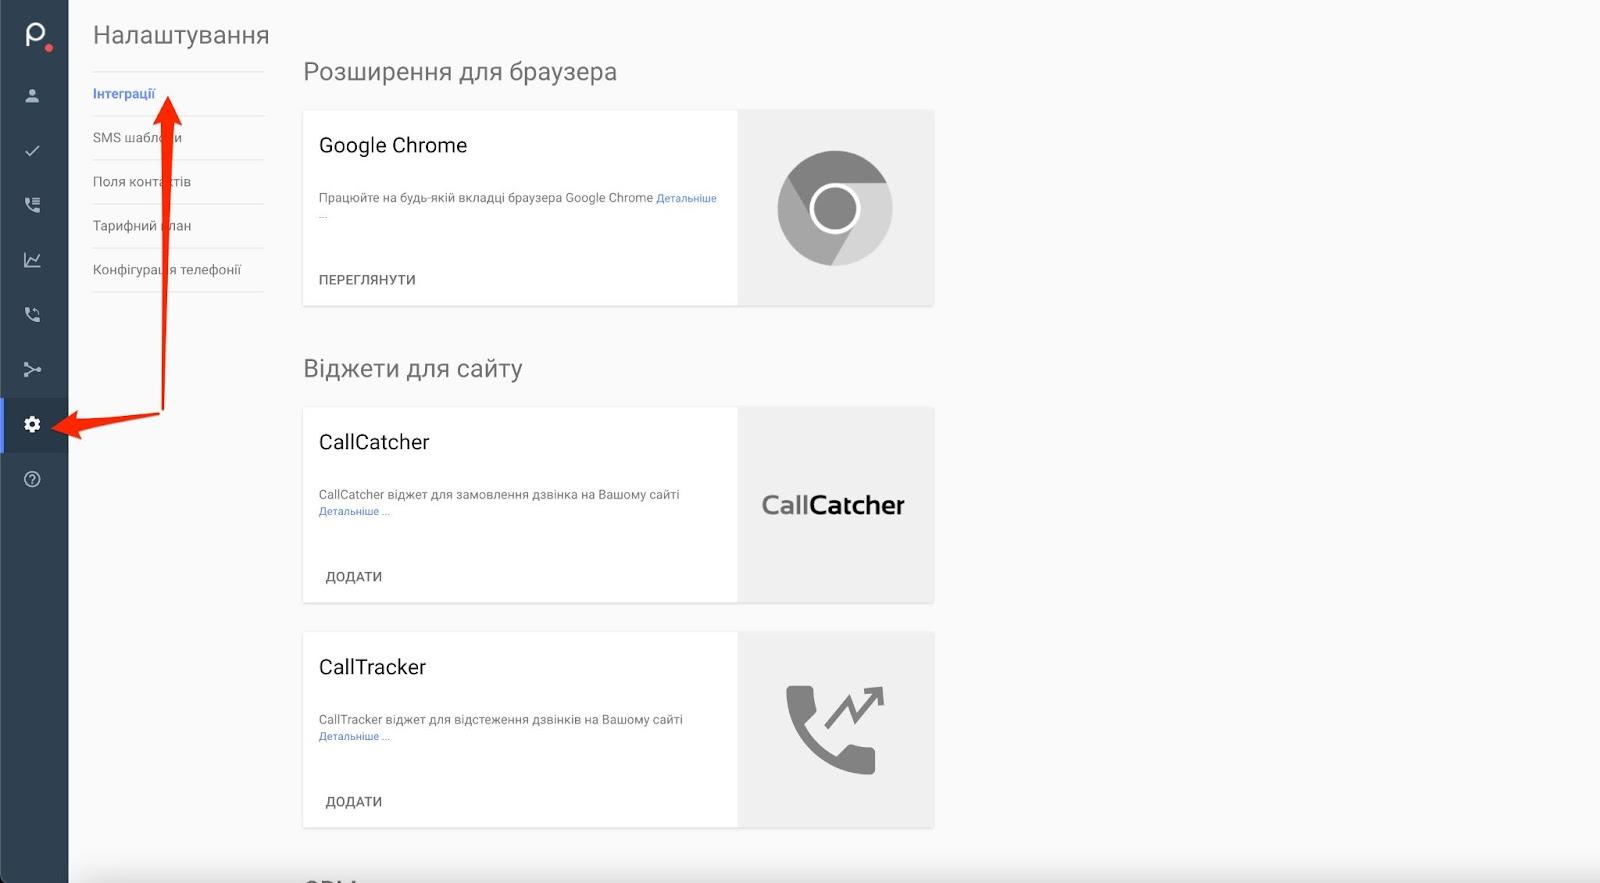
Next, scroll down the page and find the widget labeled Other CRM system and click the ADD button. A settings tab will open. This is where you will find the data you need for integration.

It will be needed for Uspacy settings.
Step 3. Outgoing webhooks
Step 3. Outgoing webhooks
Next, you need to configure the handling of the two outgoing webhooks. This will ensure that information about calls in the Phonet system is transferred to Uspacy.
On the Integration with another CRM system page, you need to fill out the following fields:
1. Get information by number
In this field you need to paste the link to the Uspacy Webhook Contact, which can be found and copied on the Phonet app settings page in your Uspacy Space.
2. Transmission of full information about the call
Here you need to paste the link to Uspacy Webhook Complete, which can be found and copied from the Phonet application setup page in your Uspacy Space.
3. User events. Namely Start a call and Answer a call.
Insert a link to the Uspacy Webhook Answer in these fields, which you will also find on the same page.
4. Transmit UTM tags for calls. You need to insert the link to the Uspacy Webhook Utm Tags, which can be found and copied from the Phonet app settings page in your Uspacy Workspace.
❗️Please note:
Tags will be pulled into the entity card within 10–15 minutes after the call;
Tags will appear in the lead if the lead was created from an unknown number. However, if the call was made from a known number, the tags will be applied to the base entity (for example, to a contact if it already exists).
In this case, the tags will only be transmitted if the base entity has no more than two calls. When these outgoing webhooks settings are configured, don't forget to click the Save button.
Step 4. Matching internal lines to employees
Step 4. Matching internal lines to employees
In order for several employees to be able to work with telephony, you need to create separate internal numbers for each of them. You can do this in the section Settings - Telephony configurations.
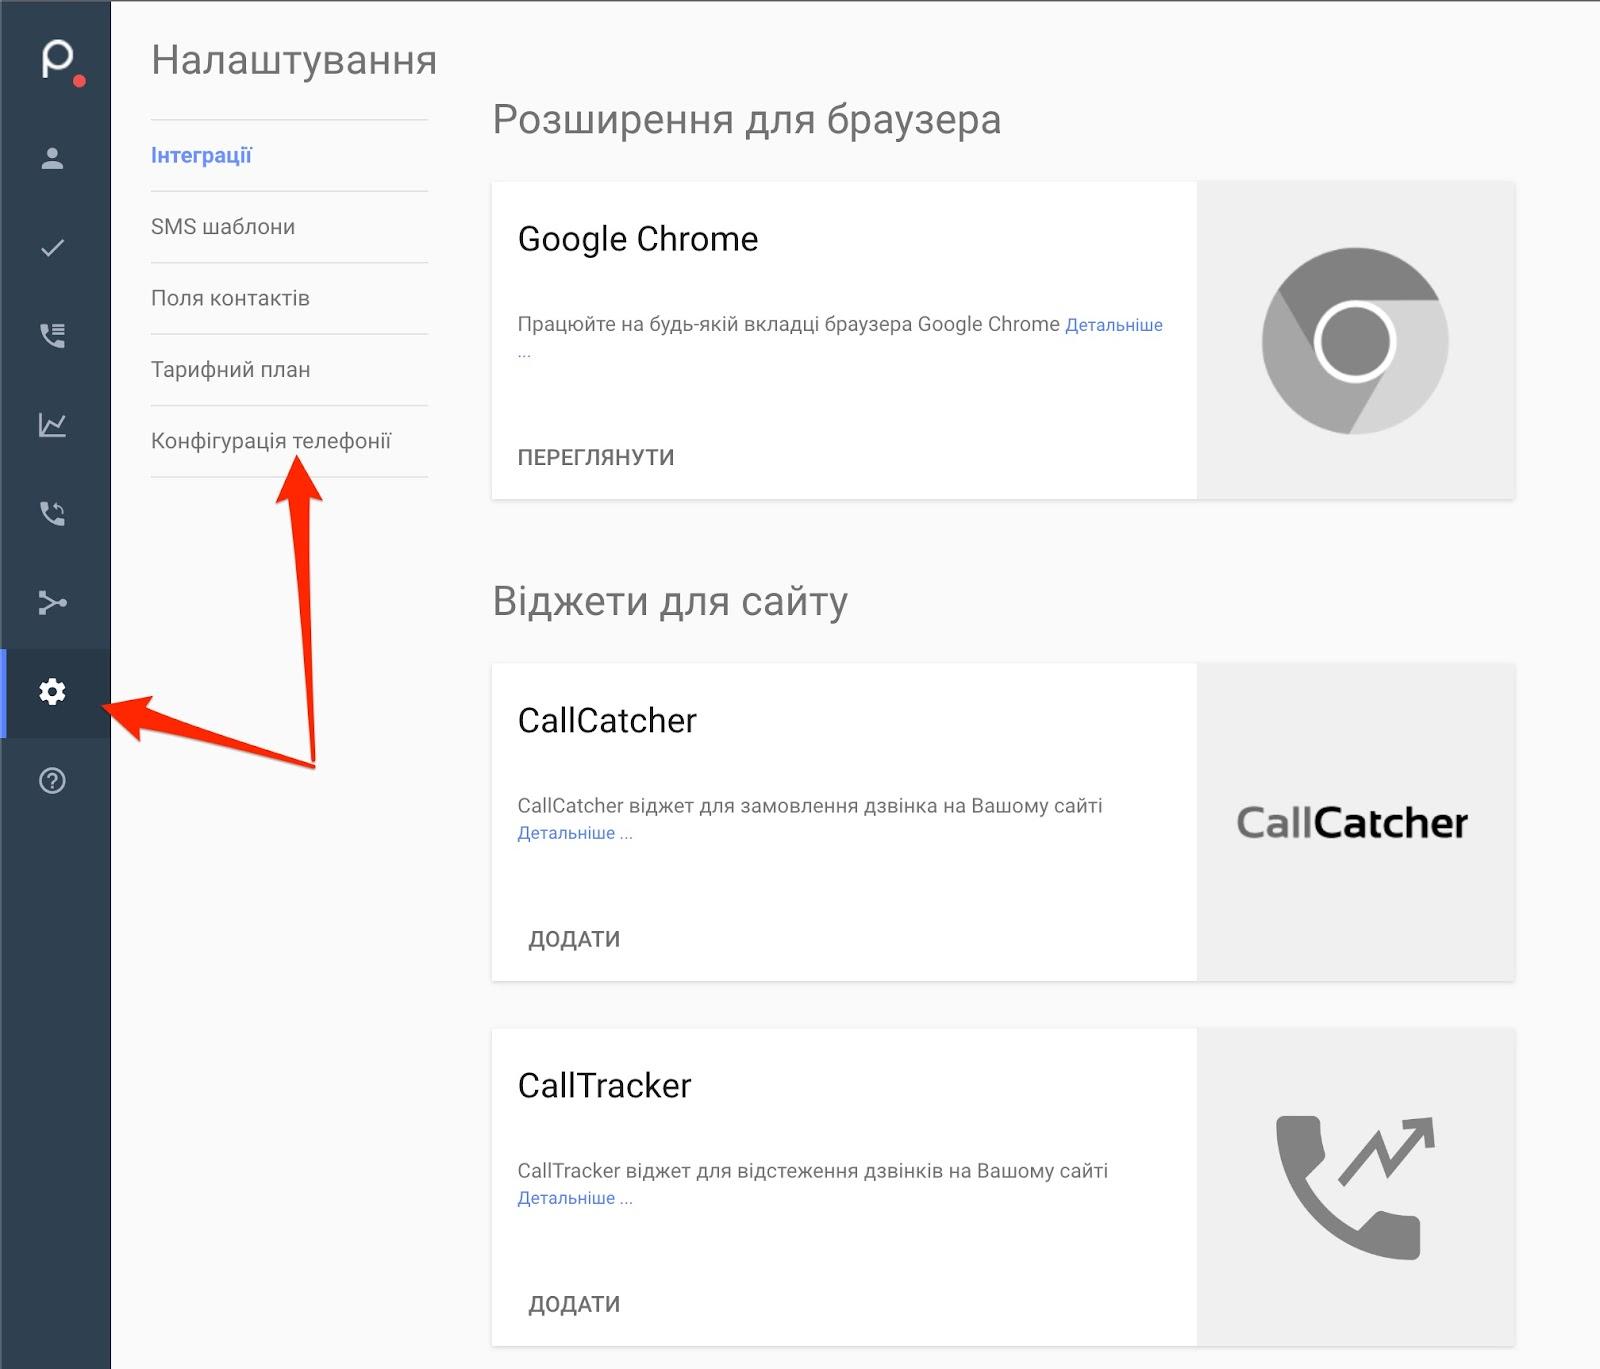
The control panel of the personal account will be presented on the page. Open the Users tab and click Add User.
🔍 You can read more about adding employees, matching internal numbers to them and providing access to the service's personal account in the Phonet knowledge base ➡️ HERE
❗️Pay attention
The employee's internal number will be used for settings at Uspacy.
Uspacy settings
In the Marketplace section, there is the free Phonet application, which after its installation and additional settings will allow you to call clients or receive calls from them.
Step 1. Installation
Step 1. Installation
First, you need to install this app in your Space. To do this, click Get.
Next, we go to the settings of the already installed application.
Step 2. Connection status
Step 2. Connection status
In this settings block, you will only need to enter the API Domain (API server) and API Key, which were generated when you created your Phonet personal account.
After that, click Check Connection.
As a result, the connection status should change.
💡 The fields Uspacy Webhook Answer, Uspacy Webhook Complete, Uspacy Webhook Contact, and Uspacy Webhook Utm Tags are essentially service fields and do not require manual input.
Their values have already been used when creating outgoing webhooks on the Phonet side.
Step 3. Integration with CRM
Step 3. Integration with CRM
In this settings block, you can select which entities should be created for different types of calls:

And separately define the Person responsible for each of these call types:
🟣 Received and Outgoing — the Person responsible is always the Line operator.

🟣 Missed — one of the following options can be selected:
Line operator — the person responsible is the operator on whose line the call was dropped (not answered).
Responsible for the base entity (if the number is known) — if the phone number already exists in the CRM, the person responsible will be the user assigned to the Contact or Lead (regardless of which phone number the client called).
Default person responsible — the person responsible will be the user specified in the Default responsible field at the bottom of the settings page (Step 5).
Specific user — you can directly select a specific employee who will be responsible for missed calls (separately for known and unknown numbers).

You can also specify the desired Source.

💡The available options for this field depend on the type of entity selected for creation based on the call.
☝🏻 For the activity, NO source is predefined.

You can add your own option. This means that your list can include not only standard sources but also those you have created yourself, for example, for a specific telephony service.
How to add the name of the telephony service as a source?
In Settings, go to the block of the entity for which you want to add your own option for the Source field.

Then edit the settings for this field.

Next, add (1) a row for the new value and give it a name (2), and then click Save (3).

After this, when filling out the Source field in the telephony settings, the newly created option will appear.

Step 4. Matching phone numbers
Step 4. Matching phone numbers
In Uspacy, you also need to specify the internal number assigned in Phonet for each responsible employee. First, click Add.
Next, in the Employees field, select a user from the list. And in the Internal number or line value field, enter the internal number that was assigned to this user in Phonet.
Finally, save these settings by clicking the checkmark.
❗️If an incoming call in the telephony system is answered by an operator who is not matched to any Uspacy user, the system will automatically assign the default person responsible (if one is specified in the integration settings).
If the default person responsible is also not matched to a Uspacy user, then the Space owner will be assigned as the person responsible for the call.
This ensures that calls always have an assigned person responsible, even in non-standard situations.
Step 5. Assigning a default person responsible
Step 5. Assigning a default person responsible
Now it is possible to assign a person responsible for new entities created on the basis of the processing of missed calls.
💡 If you do not do this, then the Space owner will be considered the default person responsible.
Softphone
To make calls, you need to use a softphone or have a landline IP phone.
Softphone is a special application that provides IP-telephony communication. It is installed on a work computer and requires an Internet connection.
Phonet has its own configurator that speeds up the setup of softphones for users.
💡In addition, you can use not only a softphone or an IP phone, but also an ordinary mobile device to make calls.
On the Help page you can find a list of available softphones for making calls.
Which softphones are recommended for use depends on your operating system or device (Mac, Windows, Linux, IP phone, Android or iOS mobile phone). You can find instructions on how to install and configure them here.
🔍 You can read more about how to configure softphones to work with Phonet in their knowledge base ➡️ HERE.
Work with telephony
After that, you can start working with Phonet directly at Uspacy - make calls and stay in touch with your current and prospective clients.

☎️ All calls (incoming, outgoing and missed) will be saved on the Call log page. Here you can process calls, for example, listen to recordings of conversations or go to the card of the related CRM entity.
💡It is available only on commercial plans.
On the call log page, you can immediately process calls, for example, listen to the recordings of conversations or go to the card of the related CRM entity.

🙌🏻 Please note that conversation recordings are usually added with a delay of 10-15 minutes. If the call was long, the delay may be a little longer.
Conversation records will be contained in the CRM card as well, in its right part, under the activity filter, where the history of interaction with the element is displayed.
If you have additional questions or you need to contact the support, send a request to this email [email protected]